Newsletter Subscribe
Enter your email address below and subscribe to our newsletter

Enter your email address below and subscribe to our newsletter

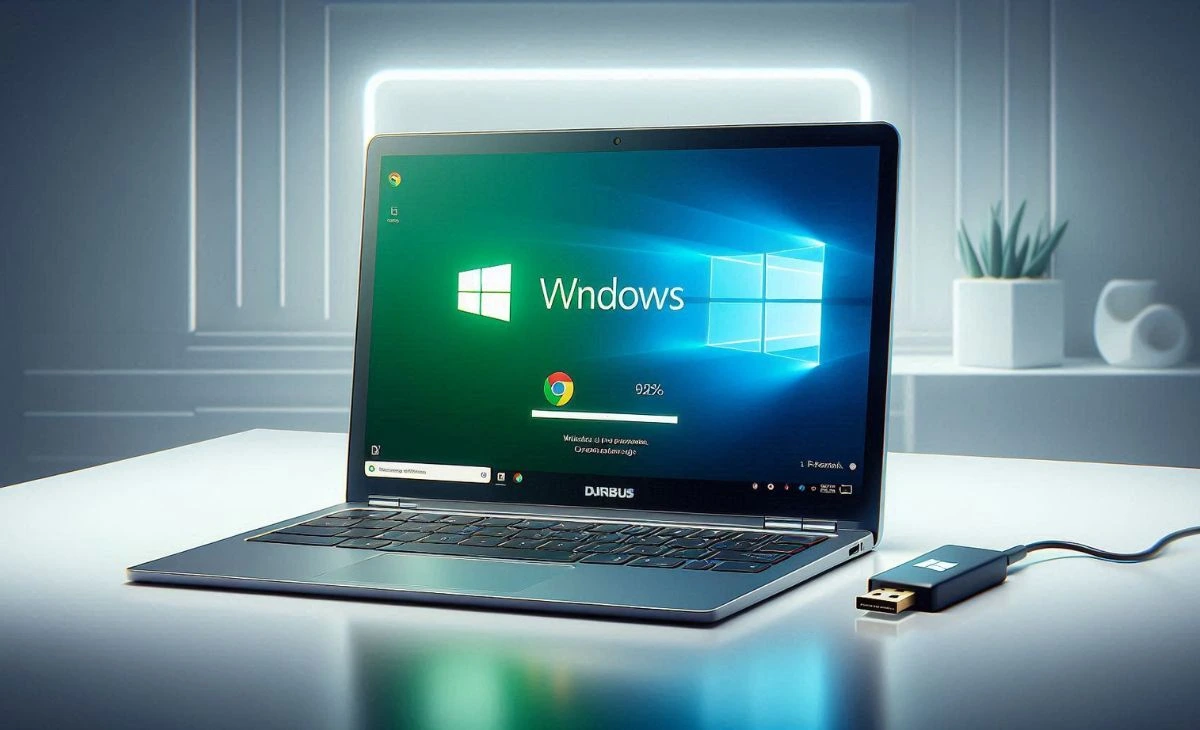
Have you ever wondered how to install Windows on a Chromebook? Many Chromebook users, like me, sometimes wish to run Windows applications or games that aren’t available on Chrome OS. Thankfully, it’s not as complicated as it seems!
In this guide, I’ll walk you through the process step-by-step. Whether you’re looking to play games or use specific software, installing Windows can unlock many new features on your Chromebook. So, let’s dive in and get started!
Understanding Requirements and Preparing for Installation
1. Hardware Specifications
Before you begin, make sure your Chromebook meets the requirements to run Windows. Here’s what you need:
2. Software Requirements
Next, gather the tools you need:
3. Back Up Your Data
Before making any changes, back up your important files. You can use Google Drive or an external hard drive. This step is crucial because the installation process may erase your data.
4. Enable Developer Mode
To install Windows, you need to enable Developer Mode on your Chromebook. This process will wipe your device, so make sure your data is backed up! Here’s how to do it:
5. Change BIOS Settings
After enabling Developer Mode, you may need to change some BIOS settings:

IInstalling Windows on Your Chromebook
6. Create a Bootable Windows USB Drive
Now that you’re ready, let’s create the bootable USB drive using Rufus:
7. Boot from the USB Drive
Once you’ve created your bootable USB, it’s time to install Windows:
8. Install Windows
You’ll now see the Windows installation screen. Follow these steps:
9. Partition Your Drive
When prompted to select where to install Windows:
10. Complete the Installation
Once Windows installs, your Chromebook will reboot. Make sure to remove the USB drive to avoid booting from it again. Follow the on-screen instructions to set up Windows:
Congratulations on taking the leap to install Windows on your Chromebook! While this can open new possibilities for software usage, it’s essential to remember that you may lose some of the core benefits that come with ChromeOS, such as speed, simplicity, and enhanced security.
Before you finalize your decision, take a moment to consider your actual needs. If your primary goal is to run specific Windows applications, it might be worth exploring alternatives that allow you to maintain the advantages of ChromeOS while still accessing those critical tools. Solutions like virtualization can provide the functionality you’re looking for without the hassle of a complete operating system switch.
In the end, choose the option that best aligns with your needs and lifestyle—whether that’s fully committing to Windows or finding a smarter way to enjoy the best of both worlds. Happy computing!